
How to Film Yourself for an Online Course: 2026 Expert Guide
How to Film Yourself for an Online Course : 2026 Expert Guide
So, you have decided to turn your expertise into a digital product.
That is a massive first step!
But then you look at that little black lens on your smartphone or webcam... and suddenly, your brain feels like it is running on dial-up internet. I know that feeling.
It is that "red light fever" where your voice goes up an octave and you forget how to move your arms normally. You are definitely not alone in this struggle.
By 2026, the online course world has shifted significantly. Gone are the days of sterile, over-produced studio environments. Today's learners crave authenticity and a human connection above all else.
They want to learn from a real person, not a polished robot. Filming yourself is not about being a movie star; it is about being a bridge between what you know and what your students need to learn. It is about sharing that spark of knowledge comfortably.
Key Takeaways for Successful Filming
-
Audio is King : clear sound matters more than 4K visuals for student retention.
-
Lighting Basics : always face your light source; never put a window behind you.
-
Platform Integration : host your videos on the all-in-one platform to sell online courses to keep everything organized.
-
Mindset : speak to one specific person to maintain a friendly, warm tone.
-
Stability : use a tripod to avoid shaky, distracting footage.
The Foundation : Audio and Light
Before you even think about the "record" button, we need to talk about the two pillars of video production that people usually ignore until it is too late.
If you have ever watched a video where the speaker sounds like they are trapped in a bathroom, you know how painful it is. You might even find yourself closing the tab within thirty seconds.
That is exactly what we want to avoid for your paying students.
Bad audio is a deal-breaker.
In 2026, students are often consuming courses on the go, using noise-canceling headphones. If your audio has a constant hiss or an echo, it becomes physically tiring for them to listen.
You do not need a three-hundred-dollar setup. A simple lapel microphone plugged into your phone or a USB condenser mic for your desk will do wonders. It isolates your voice and cuts down on the background hum of the refrigerator or the distant lawnmower.
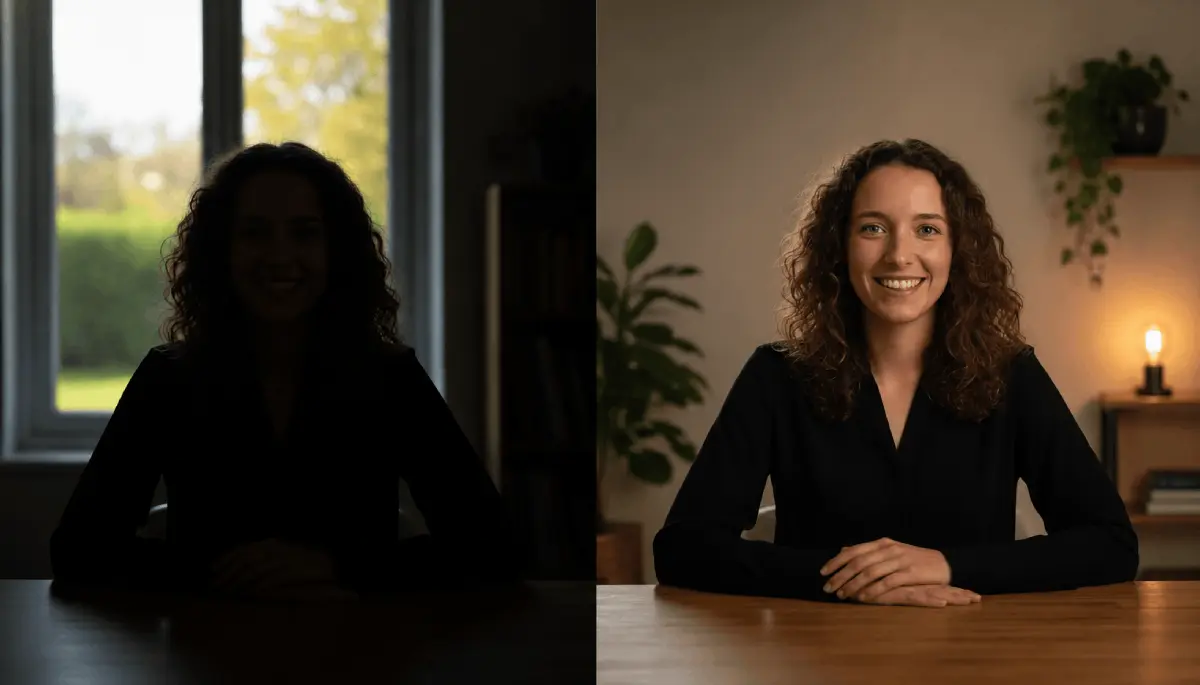
Then comes the light. You do not need a fancy "three-point lighting" kit to look professional. The best light source is actually free : the sun. If you can position your desk so you are facing a window, the soft, natural light will fill in the shadows on your face and make your eyes sparkle. But remember, never have the window behind you. This will turn you into a dark, mysterious silhouette, and unless you are in a witness protection program, that is not the vibe we are going for.
Choosing Your 2026 Gear Kit
I often hear people say they are waiting to buy a "real camera" before they start. Let me save you some money : your smartphone is likely better than most mid-range cameras from five years ago.
Modern mobile sensors are incredible at handling skin tones and focusing quickly. If you have an iPhone or a high-end Android from the last couple of years, you already own a professional production tool.
The key is how you use it.
Stability is the next hurdle. Nobody likes "the Blair Witch Project" style of education. A simple tripod with a phone mount costs less than a fancy lunch and will immediately elevate your production value.
If you are doing "talking head" videos where you sit at your desk, make sure the camera is at eye level. Looking down into a laptop camera gives your students a great view of your chin and ceiling - not exactly the most authoritative angle for a teacher.
But what if you are camera-shy? If the thought of seeing your own face makes you cringe, you are not alone.
Does not liking yourself on video is a real barrier to sales?
Spoilers : it isn't.
You can start with screen shares or slide presentations and gradually work your way up to showing your face. The important thing is that your voice and personality shine through the content.
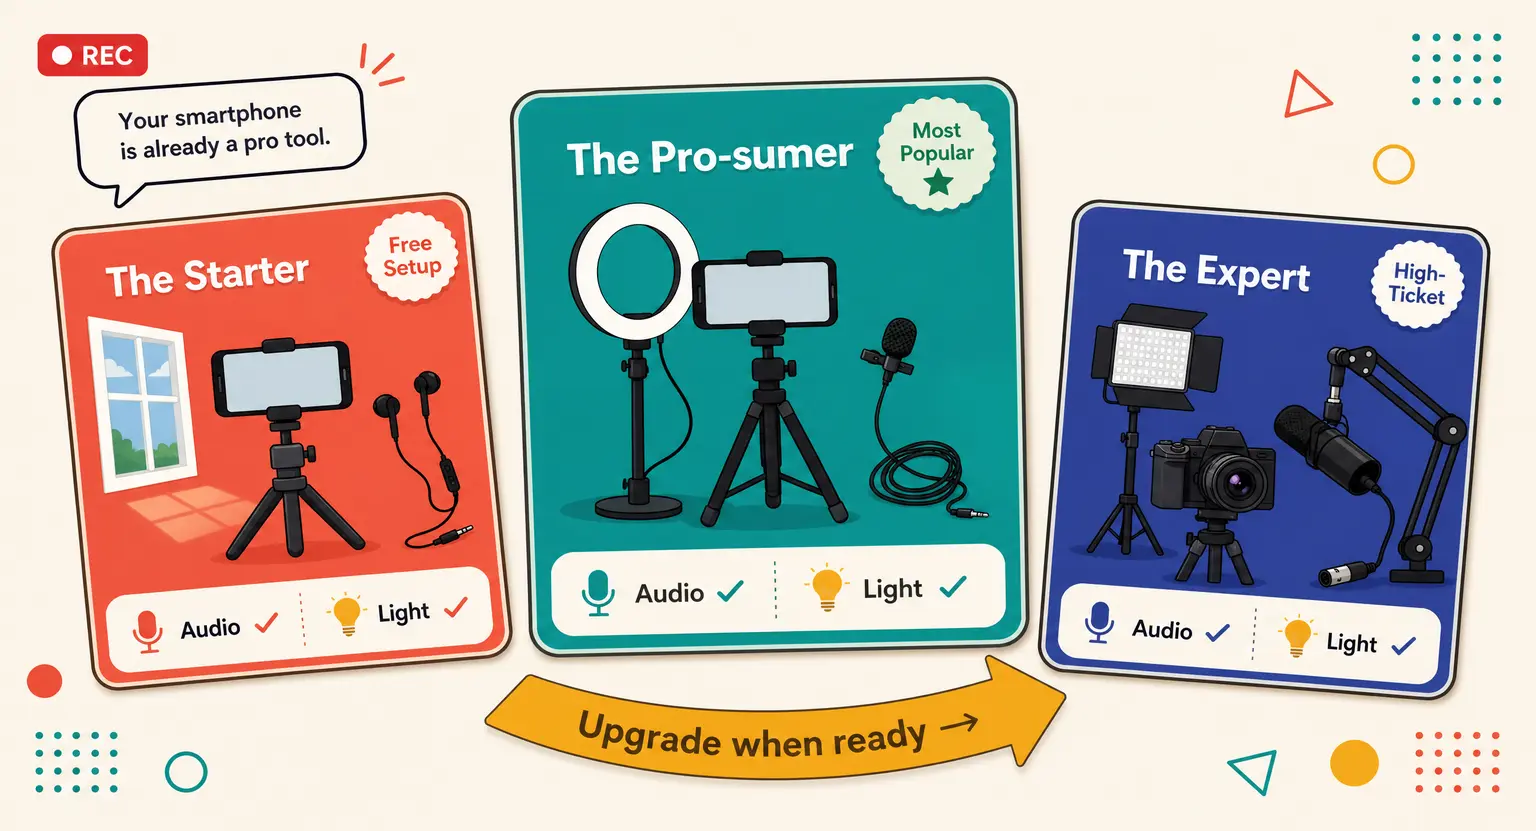
| Setup level | Equipment recommended | Ideal for |
|---|---|---|
| The Starter | Smartphone + Wired Earbuds (Mic) + Window Light | Testing your first course idea. |
| The Pro-sumer | Smartphone + Ring Light + Lavalier Mic + Tripod | Consistent YouTube or Academy content. |
| The Expert | 4K Mirrorless Camera + Key Light + XLR Microphone | High-ticket flagship programs. |
Performance Secrets for Non-Actors
Once the tech is ready, it is time to perform. And yes, it is a performance, even if it is an authentic one.
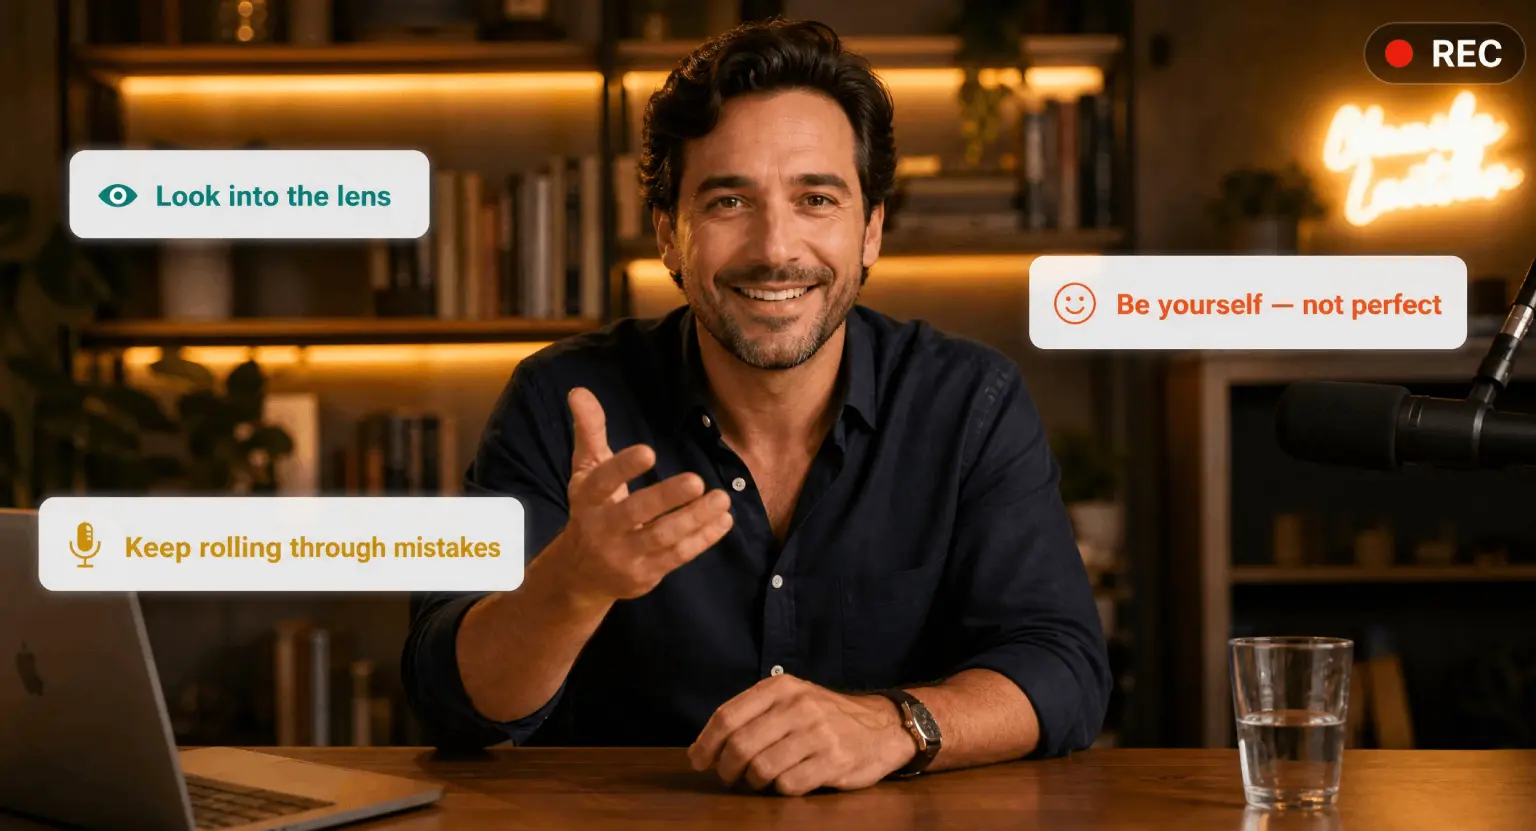
One of the biggest mistakes beginners make is staring at themselves on the screen instead of looking at the camera lens.
When you look at the screen, it appears to your students like you are looking slightly to the side. When you look directly into that tiny black circle of the lens, you are making eye contact with every single student. That builds trust.
Another tip : talk to one person. Don't say "Hello everyone" or "Hey guys." Say "Hi, I'm glad you're here."
This makes the student feel like you are sitting right across from them in a coffee shop. It lowers the stakes for you, too.
You aren't giving a speech to a stadium; you are explaining a concept to a friend.
If you stumble over a word, don't panic. Just pause, smile, and say it again.
Those little human moments actually make you more relatable.
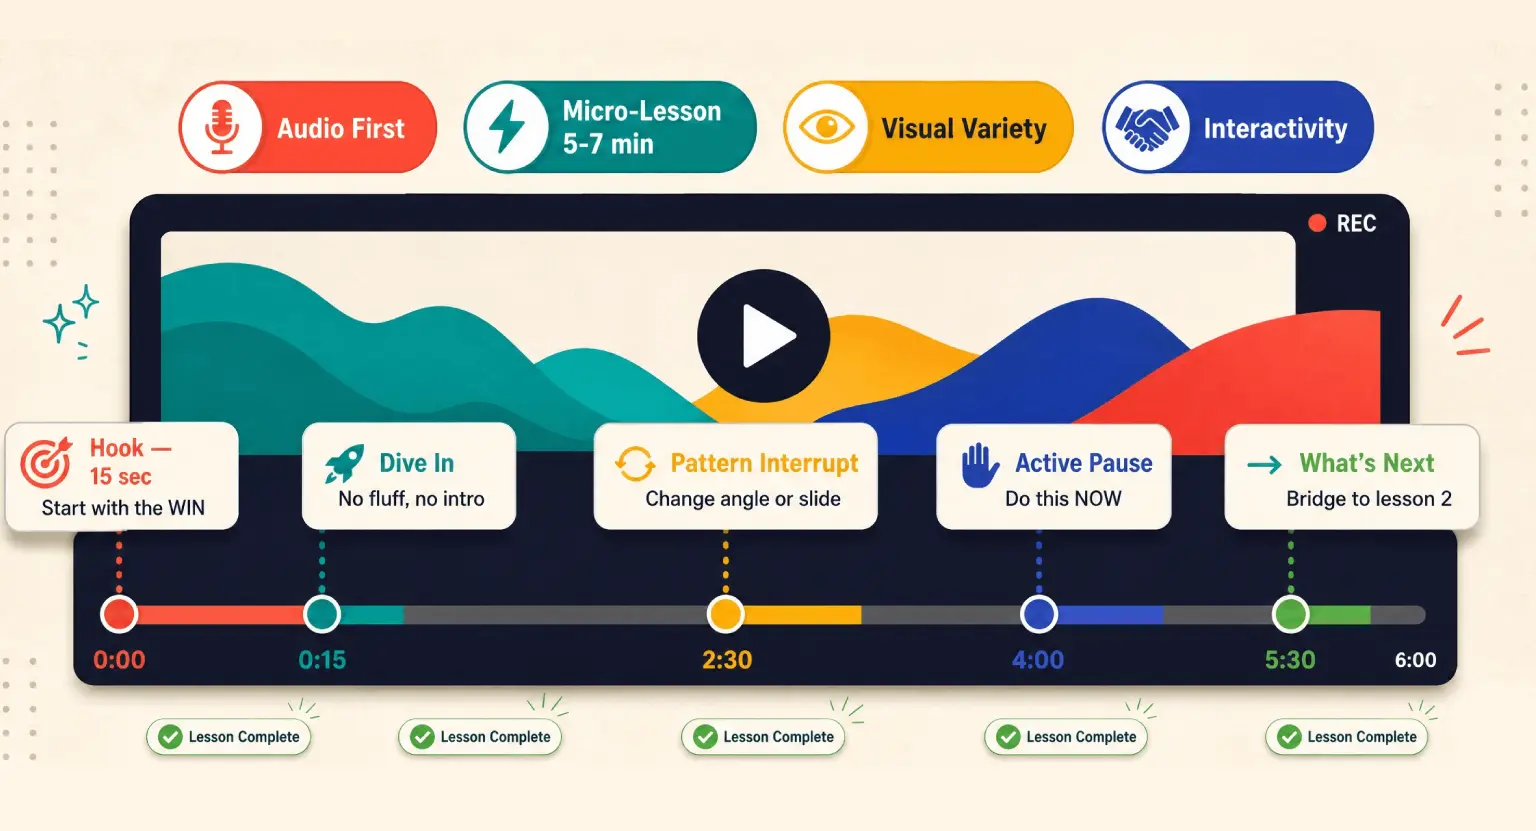
And please, keep your videos short. In 2026, attention spans are the rarest commodity on earth. If a lesson takes twenty minutes to explain, try breaking it into four five-minute videos.
This gives your students a sense of accomplishment as they check off each lesson. It also makes your course much easier to navigate on a mobile app or dashboard, where people might only have a few minutes between meetings to learn.
Where Do These Videos Go?
After you have recorded these masterpieces, you need a home for them.
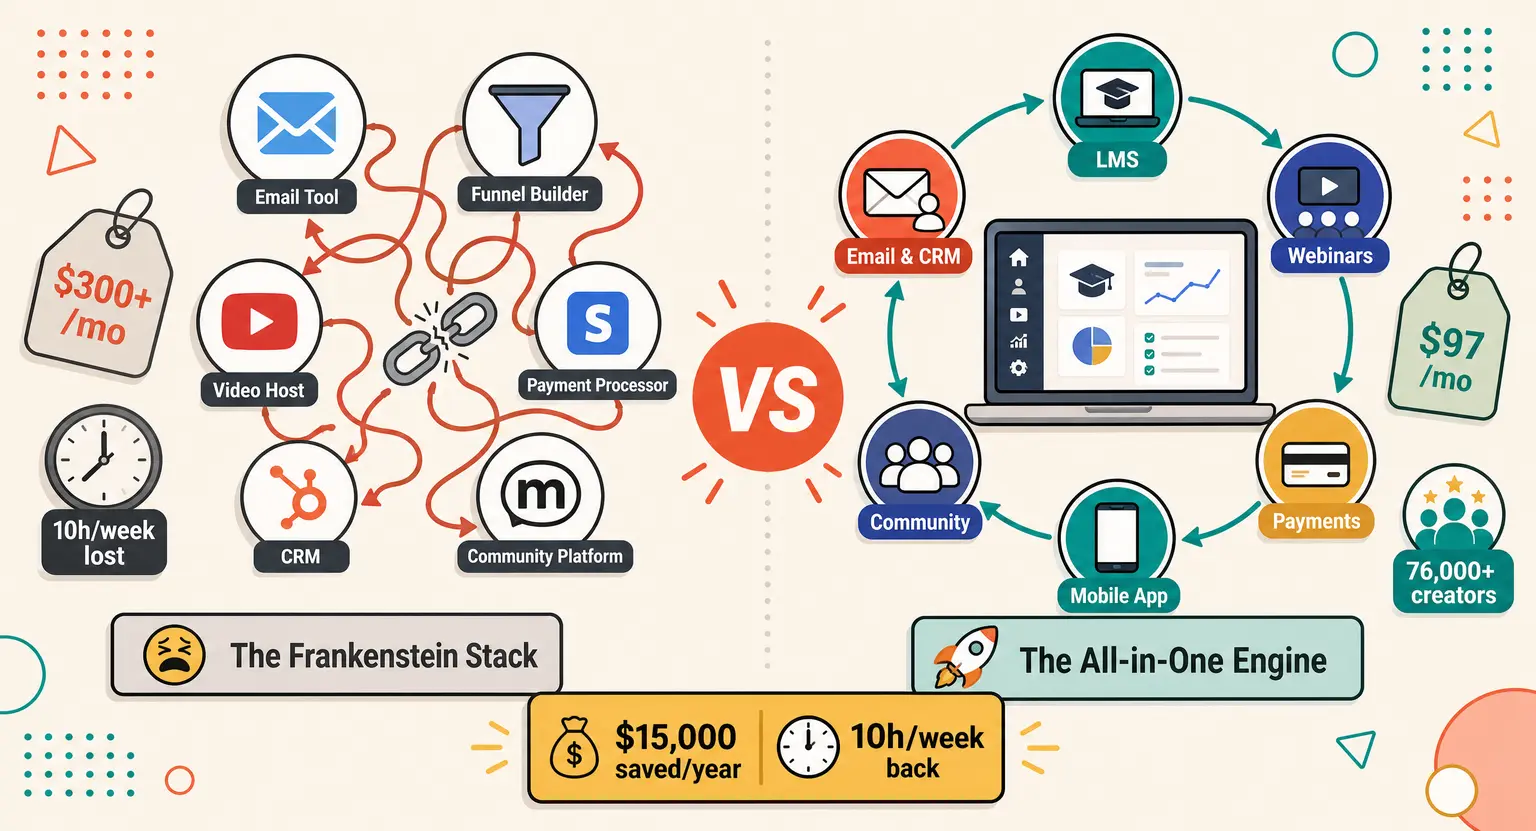
You could try to stitch together five different tools - one for hosting, one for payments, one for emails - but that is a fast track to a migraine.
This is where a centralized system becomes your best friend. Many creators choose the best platform to sell online courses because it handles the heavy lifting of video hosting and student access automatically.
When you use an integrated solution like LearnyBox, your videos aren't just floating in space. They are connected to your quizzes, your community, and your automated emails.
You can even track which students are watching which videos. If you notice a student hasn't watched a video in a week, the system can send them a friendly nudge.
This kind of automation is what separates a "hobby" from a "business."
If you are feeling overwhelmed by the cost of all this, you should check out the sell online courses platform pricing options available today.
Many platforms offer a LMS free account to get you started. This allows you to upload your first few videos, set up your academy, and start building your audience without a massive upfront investment.
It takes the financial pressure off so you can focus on being the best teacher possible.
Finishing Touches and Moving Forward
Recording is only half the battle. The other half is the environment you create for your students.
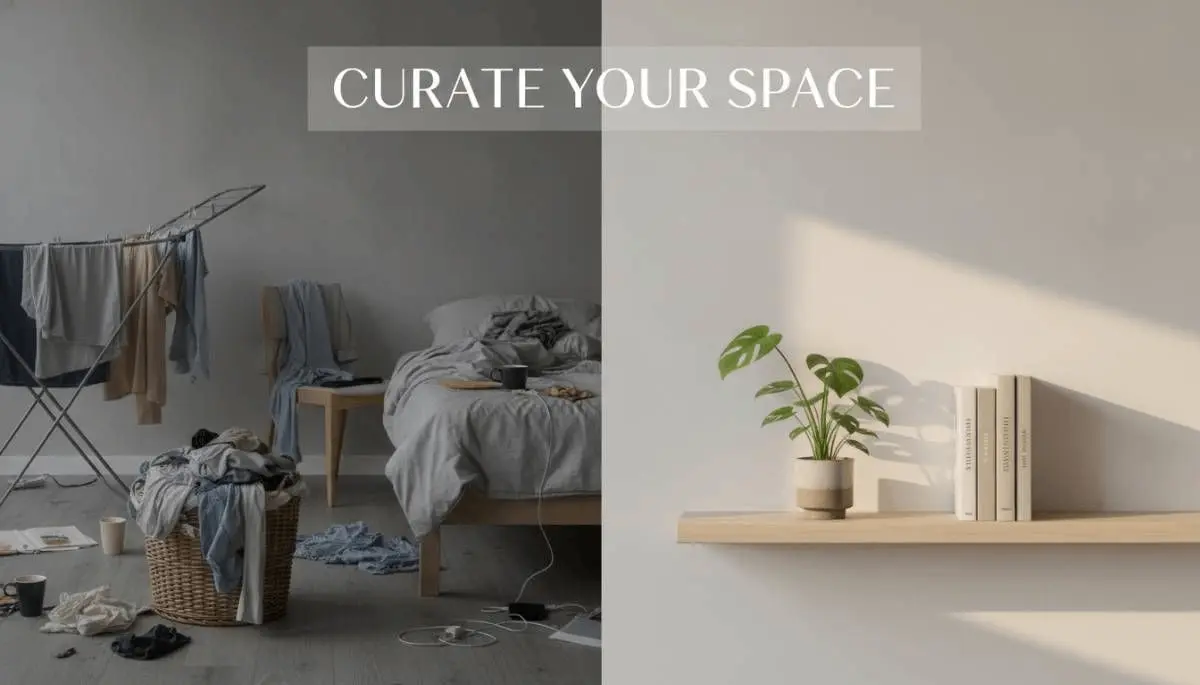
Think about your background. It doesn't have to be a blank white wall - in fact, that's a bit boring. A bookshelf, a nice plant, or a clean office setup adds personality.
Just make sure there isn't anything distracting like a pile of laundry or a high-traffic hallway where your cat might suddenly decide to have a zoomie session mid-lesson.
And remember, you are building a business, not just a video library. If you want to expand your reach, you might want to learn how to organize a successful webinar to pull in new leads.
Filming yourself for a course is a great practice for going live, as it builds your "on-camera muscles." The more you do it, the more natural it feels.
Before you know it, that blinking red light won't be a source of stress; it will be a signal that you are about to change someone's life with your knowledge.
Success in 2026 isn't about having the most expensive lenses or a Hollywood crew.
It is about a creator who cares enough to show up, look their student in the eye (or the lens), and deliver value.
You have the tools in your pocket right now. The only thing left to do is take a deep breath, frame your shot, and hit that record button. You've got this.
Frequently Asked Questions
Do I need an expensive camera to start an online course?
No, you definitely don't. Most modern smartphones in 2026 are capable of stunning 4K video.
Focus on your lighting and audio instead, as these elements have a much higher impact on how "pro" your course feels to a student than the actual camera sensor itself.
What is the most important factor for video quality?
Audio is actually the most critical factor. While it sounds counterintuitive for a video product, students will tolerate a slightly grainy image but will immediately drop out if the sound is painful to hear.
Invest in a simple external microphone to ensure your message is crystal clear and professional.
How can I get over my fear of being on camera?
The trick is to stop thinking about the thousands of people who might watch and focus on just one person.
Put a physical photo of a friend or your "ideal student" right next to the camera lens. Speak only to them. This simple psychological hack keeps your energy high and your tone conversational.


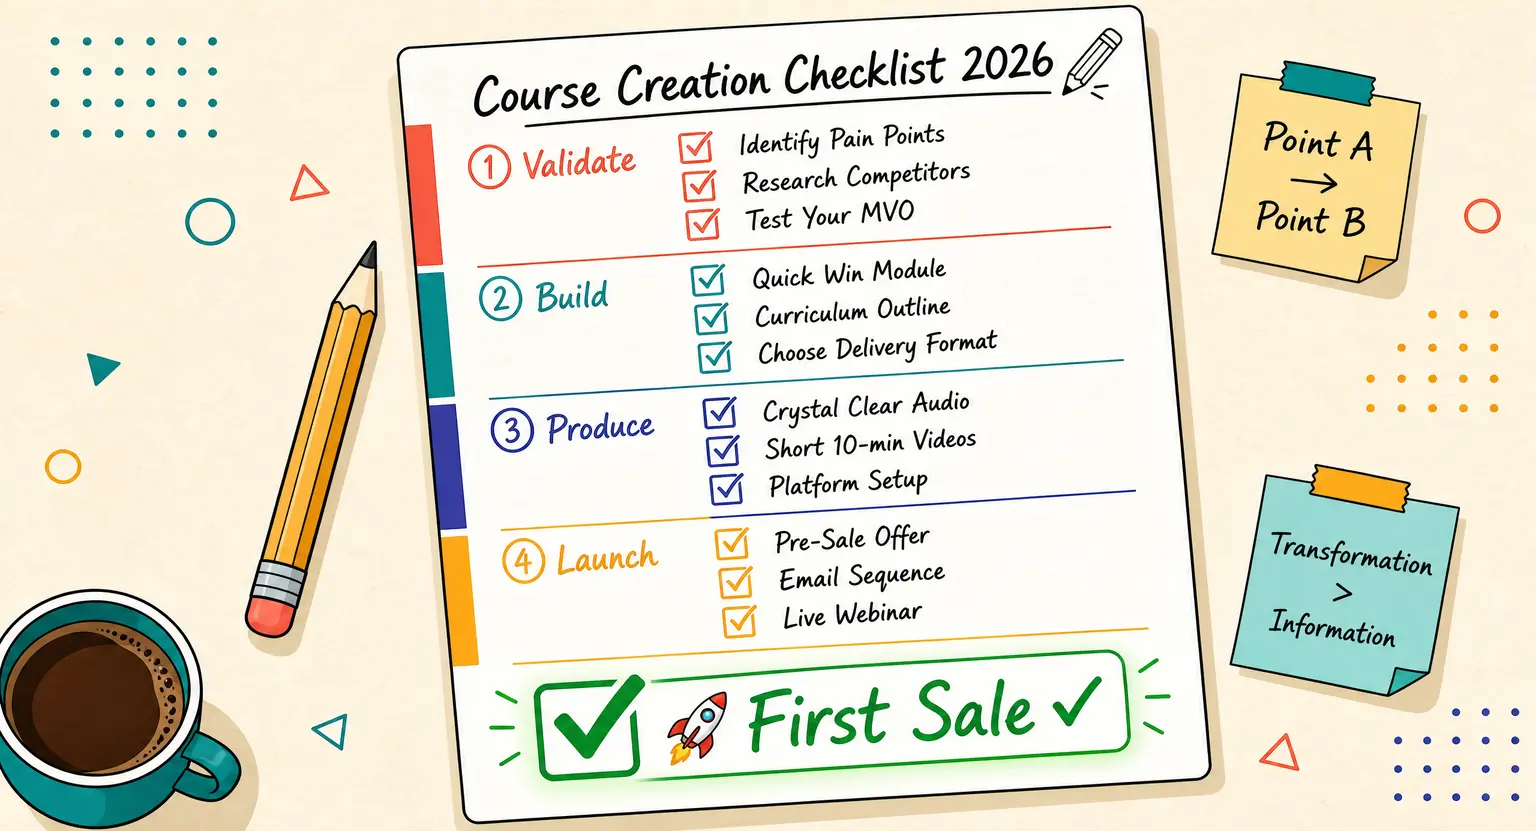 The Ultimate Course Creation Checklist for 2026: From Idea to Profit
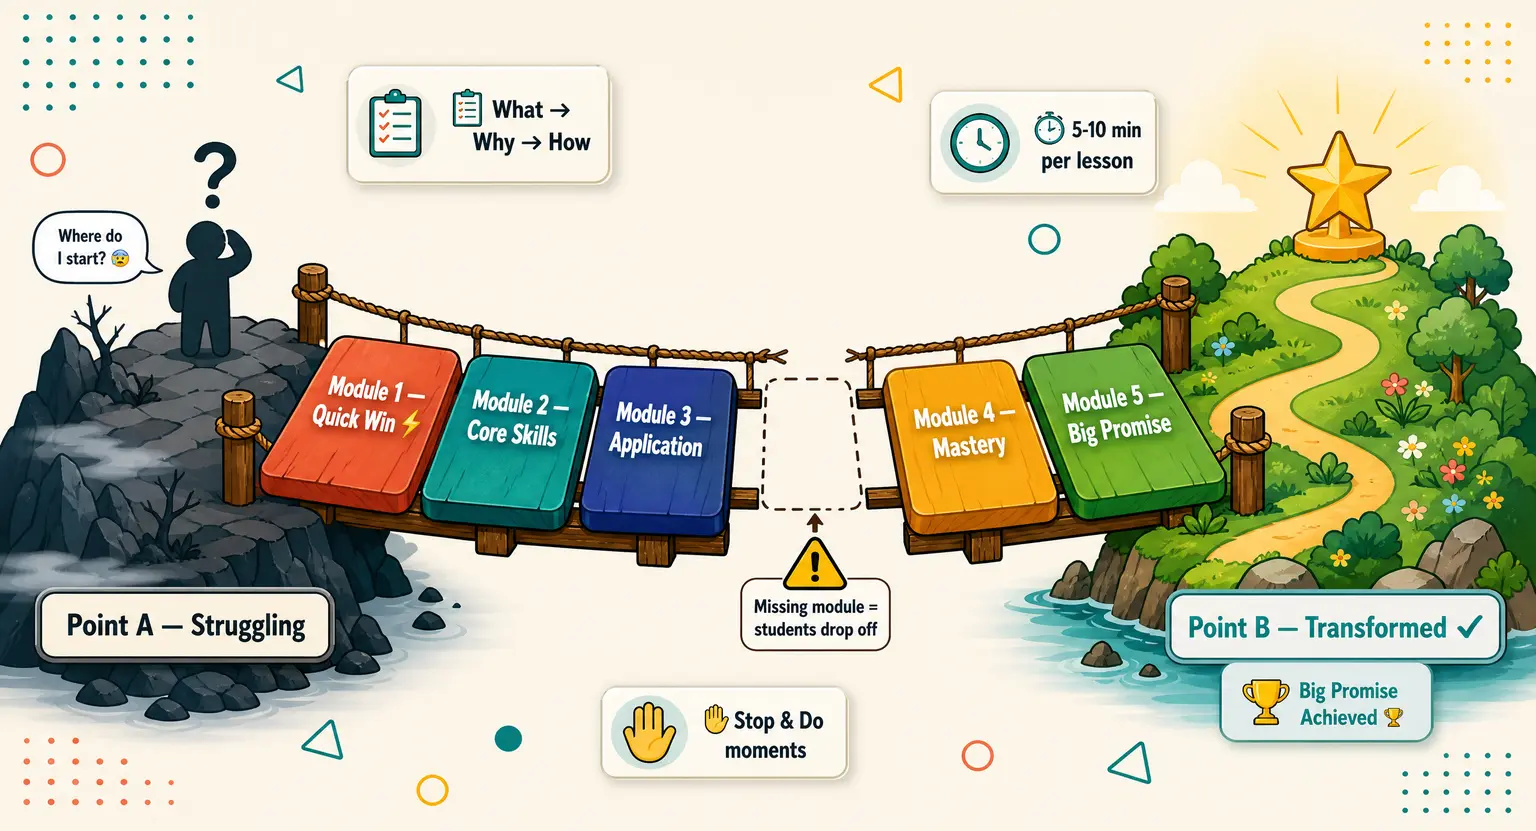 How to Make a Course Outline That Actually Works (2026 Strategy)
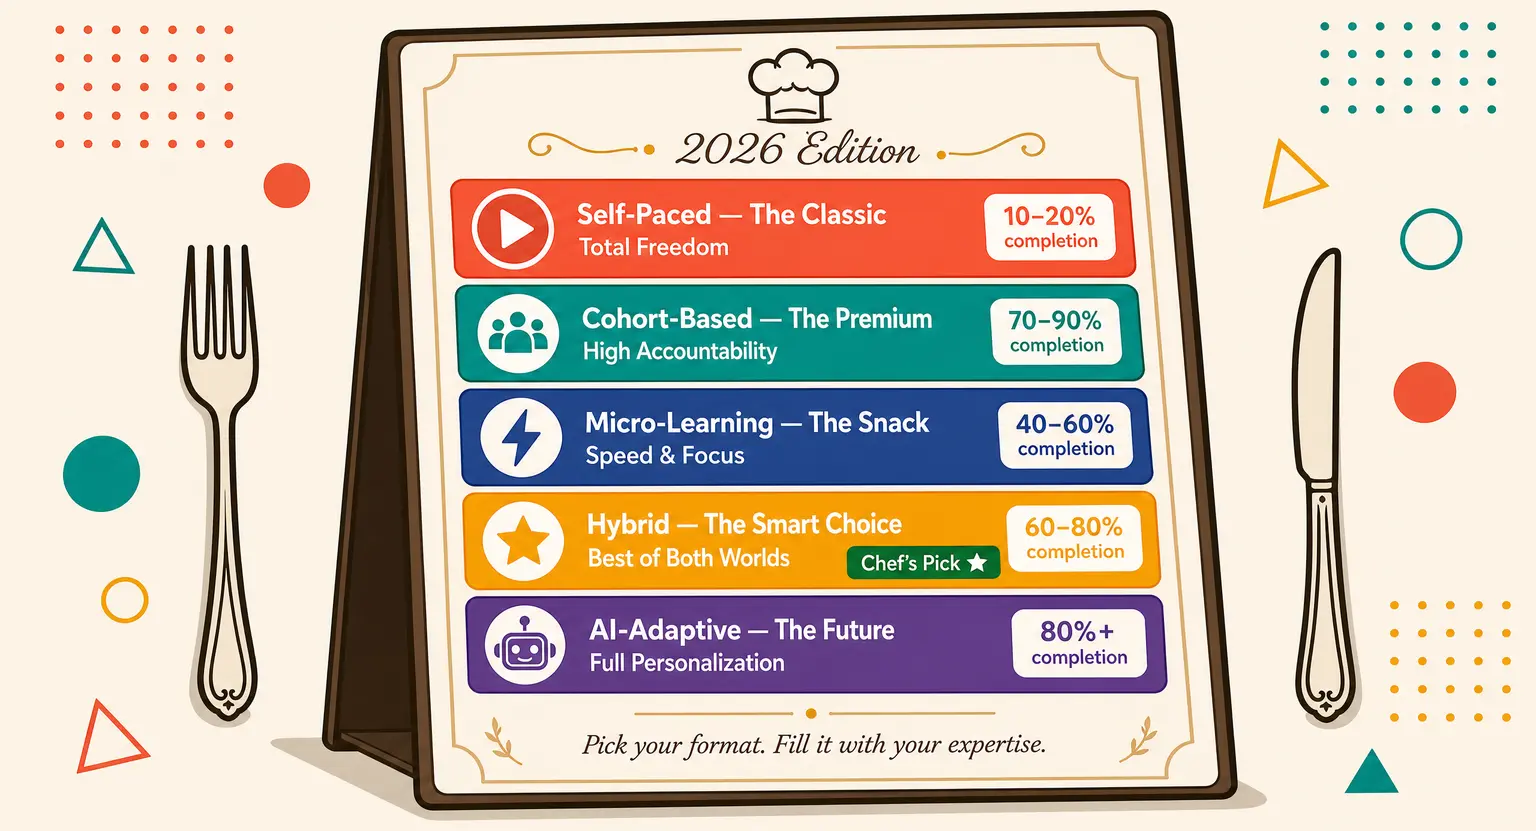 Online Course Formats Explained: The 2026 Guide to Student Success