







How to Create a Drip Course: Step-by-Step Guide (2026)
How to Create a Drip Course
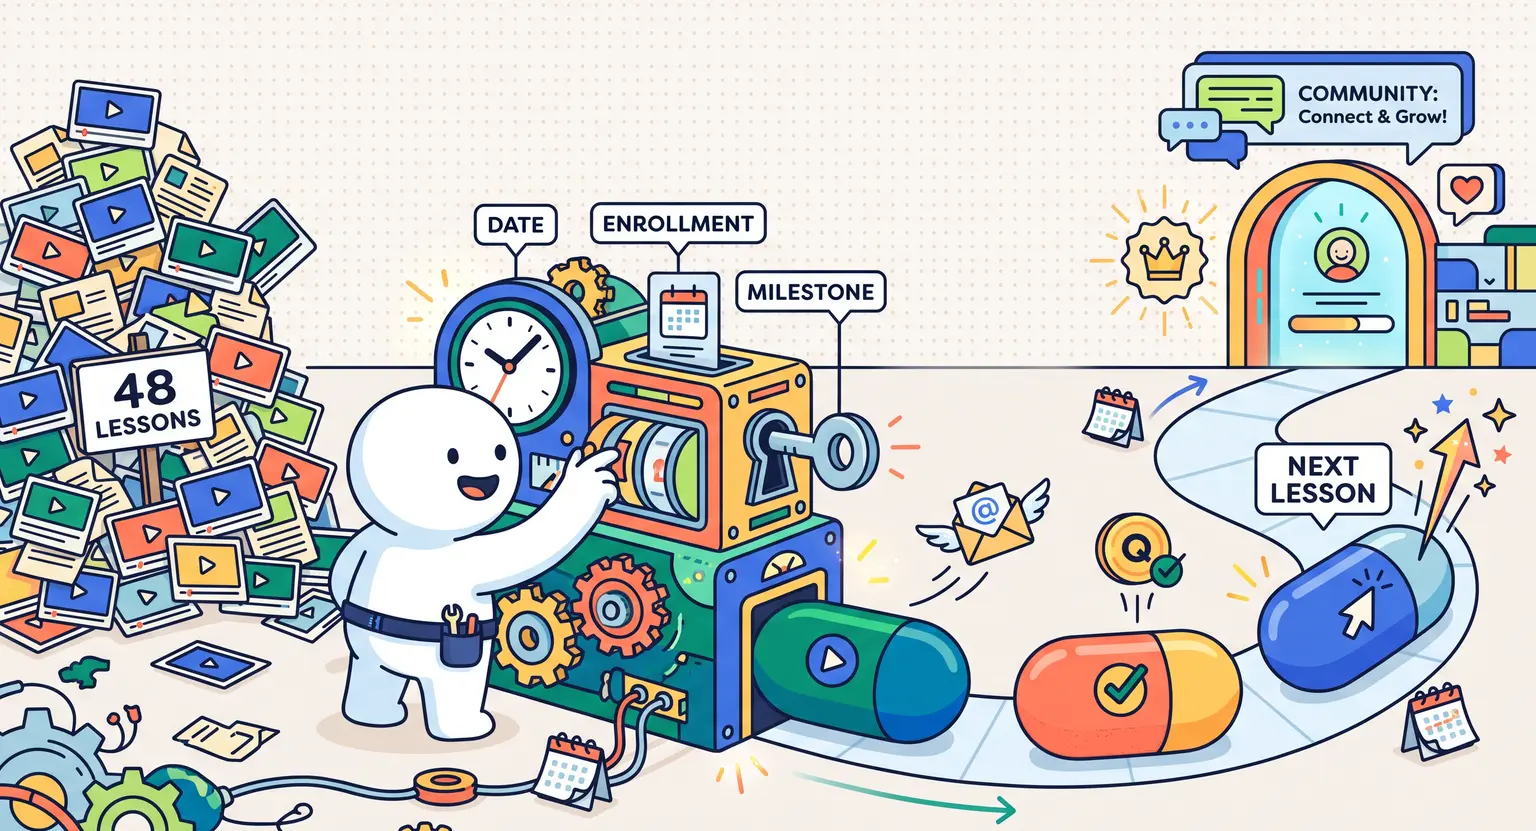
Picture this scenario. A student buys your flagship program, logs in full of excitement, sees 48 dense video modules staring back at them, and instantly freezes. They log out, tell themselves they will tackle it this weekend, and never come back.
Sound familiar? You are not alone. Information overload is the silent killer of online student completion. When you dump everything on someone at once, you hand them an encyclopedia when what they actually wanted was a clear guided tour.
That is where drip feeding comes to the rescue. By releasing lessons gradually over days, weeks, or milestone achievements, you turn an intimidating mountain into easy, bite-sized steps. Let us walk through the exact process of designing, structuring, and launching a drip course that keeps learners hooked from lesson one to graduation.
Key Takeaways
-
Drip courses release content on scheduled triggers, drastically reducing drop-offs and cognitive fatigue.
-
Calendar-based, enrollment-based, and milestone-based schedules serve completely different business goals.
-
Building anticipation between releases creates habitual login loops and stronger community bonds.
-
Explore how structured delivery stacks up in our breakdown of drip courses vs all-at-once courses.
What Exactly Is a Drip Course?
A drip course is an online program where educational modules unlock systematically over time rather than being handed over all at once. Think of it like a television network rolling out one episode per week instead of a streaming platform dropping a whole season in a single afternoon.
This pacing does something psychological to learners. It protects them from rushing ahead before mastering core fundamentals, it gives them breathing room to do assignments, digest complex ideas, and build actual competence.
From a business standpoint, drip delivery protects your intellectual property from content scrapers. It also aligns perfectly with membership models where students remain active subscribers to access upcoming modules.
Choose Your Drip Release Model
Before recording a single slide or video, you must decide what trigger releases your content. Different models suit different teaching styles and business formats.
-
Date-based (calendar drip) : content unlocks on specific calendar dates for every student simultaneously. Perfect for seasonal bootcamps, group cohorts, and live launches.
-
Enrollment-based (relative drip) : content unlocks relative to the exact day a student registers. If Lesson 2 unlocks 7 days after enrollment, Student A sees it next Tuesday, while Student B (joining next month) sees it a week after their own sign-up.
-
Milestone-based (action drip) : the next lesson remains locked until the student finishes the previous quiz, submits an assignment, or checks off specific prerequisites.
If your curriculum prepares professionals for formal credentials, you might want to look into how to get an online course accredited so your structured milestones count toward recognized industry qualifications.
Step 1 : Map Your Curriculum Into Digestible Milestones
Great drip courses are not just standard video playlists cut into arbitrary pieces. Every single module must represent an independent, tangible transformation.
Start by identifying your ultimate outcome. What should the student be capable of doing by the end of the journey? Work backward from that result and divide the path into four to eight core milestones.
Keep your video lessons concise. Aim for 6 to 12 minutes per lesson. If a topic requires thirty minutes of instruction, split it into three logical sub-sections. Students love the dopamine hit of marking short videos complete, and momentum builds quickly.
Make sure every module includes an immediate action step. Whether it is an editable worksheet, a reflection prompt, or a software exercise, give them something to execute before the next module drops.
Step 2 : Build the Technical Automation
Setting up automation is where creators often get tangled up, but modern platforms make it remarkably straightforward.
First, upload all your course assets - videos, PDF workbooks, audio files, and supplementary guides - into your learning management system. Organize them into clear modules and lessons.
Next, configure your unlock triggers inside your platform settings. If you use an all-in-one platform like LearnyBox, you can select whether each section unlocks after a set number of days post-purchase or on fixed dates with just a few clicks.
Finally, set up your notification triggers. Do not rely on students remembering to log in on their own. Pair every content release with an automated email notifying them that their next module is ready to view.
Comparison of Drip Release Strategies
Choosing the right schedule depends on your audience's schedule, your content depth, and how hands-on you want to be as an instructor.
| Drip model | Primary trigger | Best suited for | Key benefit |
|---|---|---|---|
|
Relative delay |
Days elapsed after enrollment. |
Evergreen, self-paced masterclasses. |
Runs 100% on autopilot year-round. |
|
Calendar date |
Specific calendar days. |
Live cohorts, challenges, bootcamps. |
Shared community momentum and discussions. |
|
Progress-locked |
Quiz passing or task submission. |
Certification and compliance programs. |
Guarantees deep mastery before advancing. |
|
Hybrid release |
Delay plus milestone validation. |
High-ticket coaching programs. |
Combines natural pacing with accountability. |
Step 3 : Craft High-Engagement Unlock Emails
Your automated notification email is half the battle. If your email simply says "Module 3 is available," open rates will dwindle by week four.
Treat every unlock email like a mini sales letter for that specific lesson. Remind them of the problem they are solving this week. Tease a surprising insight or shortcut inside the lesson.
Include a direct login link that takes them straight to the new video player without making them hunt through their account dashboard. Removing friction keeps engagement numbers high.
And do not forget to celebrate their progress. A quick line like "You have already finished 40% of the course - amazing work!" reinforces their identity as an action taker.
Step 4 : Maintain Community and Accountability
Drip courses create a shared rhythm, especially when learners move through the materials around the same timeframe. You can amplify this natural energy inside your community hub.
Host dedicated discussion threads tied to each module. Ask specific questions like : "What was your biggest takeaway from Module 2?" or "Post a screenshot of your finished assignment below."
If you plan on issuing continuing education units, check our guide on how to offer continuing education credits with an online course to ensure your progress tracking meets strict verification guidelines.
When students realize their peers are actively sharing results and discussing the same challenges, accountability spikes. Nobody wants to be the one who fell behind the group.
Common Drip Course Pitfalls to Avoid
Even seasoned educators make avoidable mistakes when transitioning to automated pacing. Keep an eye out for these stumbling blocks :
-
Pacing too slow : making students wait two weeks between basic 10-minute lessons will kill their enthusiasm. Keep intervals matched to the time required to complete practical exercises.
-
Locking resource libraries : templates, swipe files, and glossary sheets should usually be accessible right away so eager learners can explore reference material early.
-
Zero catch-up grace : life happens. If a student gets busy and misses a release, never penalize them or lock them out of earlier content.
-
Ignoring student feedback : monitor where students pause or drop off in your analytics. If 30% stall at Module 4, that lesson is likely too long, confusing, or overwhelming.
Frequently Asked Questions
What is the best release interval for a drip course?
Weekly intervals work best for skill-building courses that require practical homework. For quick wins or challenges, daily micro-lessons over 5 to 14 days drive significantly higher momentum.
Can I mix drip schedules with live cohort sessions?
Yes. A hybrid model where recorded content unlocks before weekly live Q&A sessions keeps students aligned and dramatically improves interactive discussion quality.
How do drip courses help reduce refund rates?
Dripping content prevents buyers from downloading all assets immediately and asking for an opportunistic refund. It also shields students from initial overwhelm, keeping them engaged past standard refund windows.
What happens if a student falls behind on a drip schedule?
Unlocked content remains permanently accessible in their student portal. Automated reminder emails and gentle milestone check-ins help them jump back in at their own pace without stress.





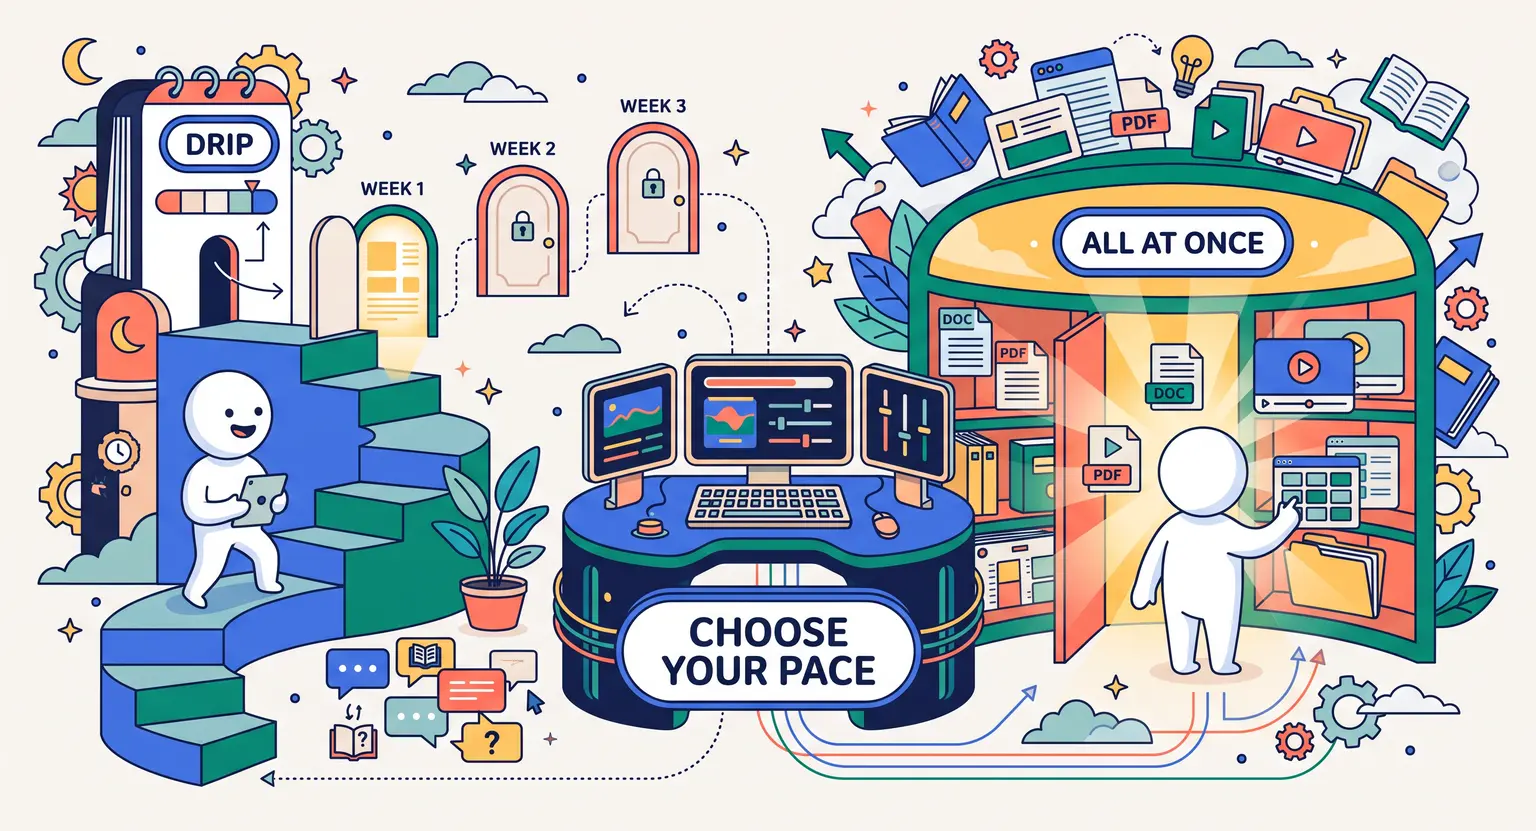 Drip Courses vs All-at-Once Courses: Which Delivery Model Wins?
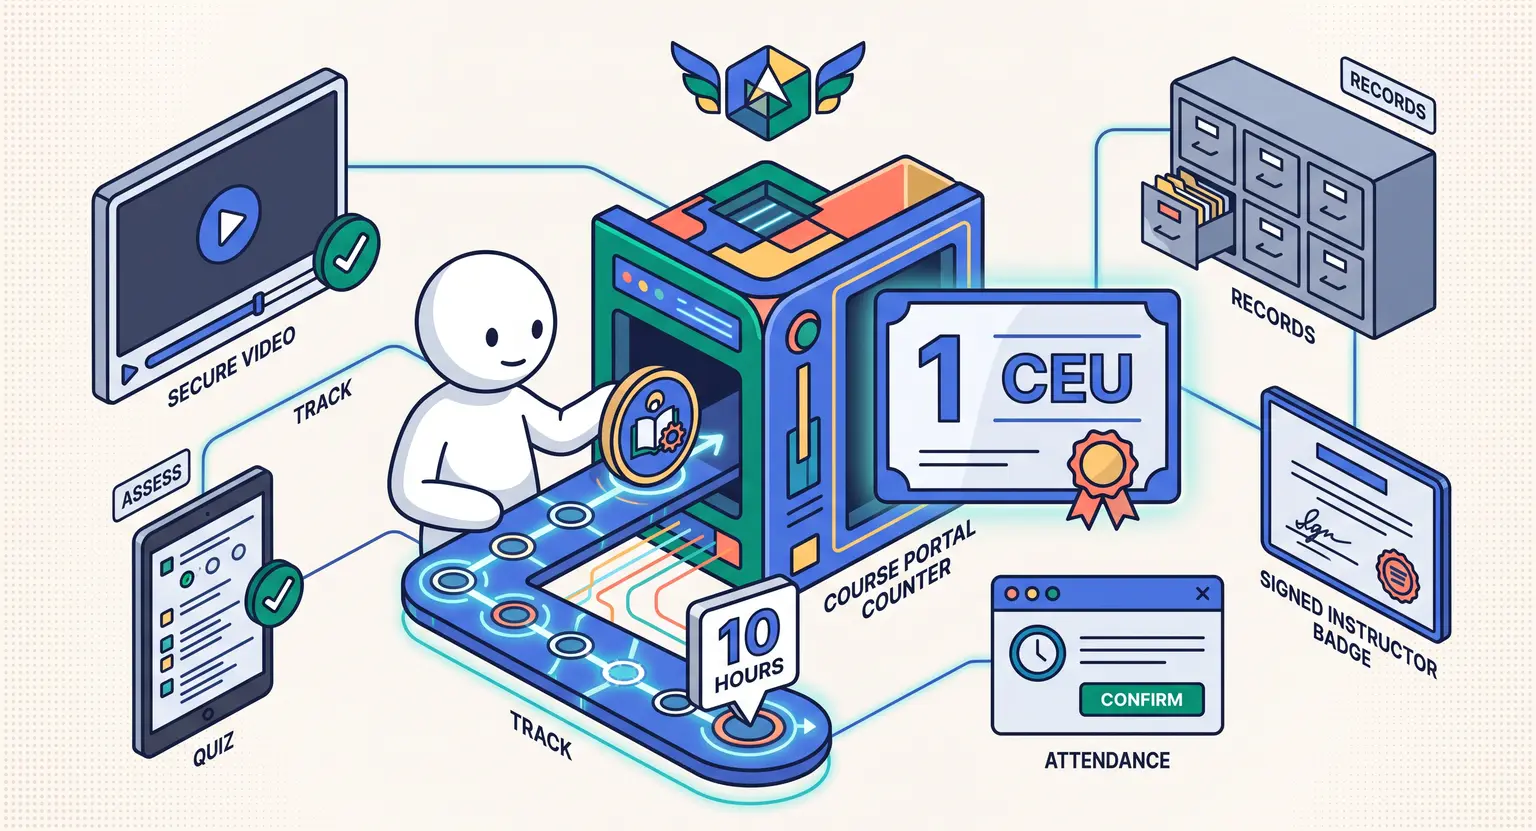 How to Offer Continuing Education Credits With an Online Course (2026)
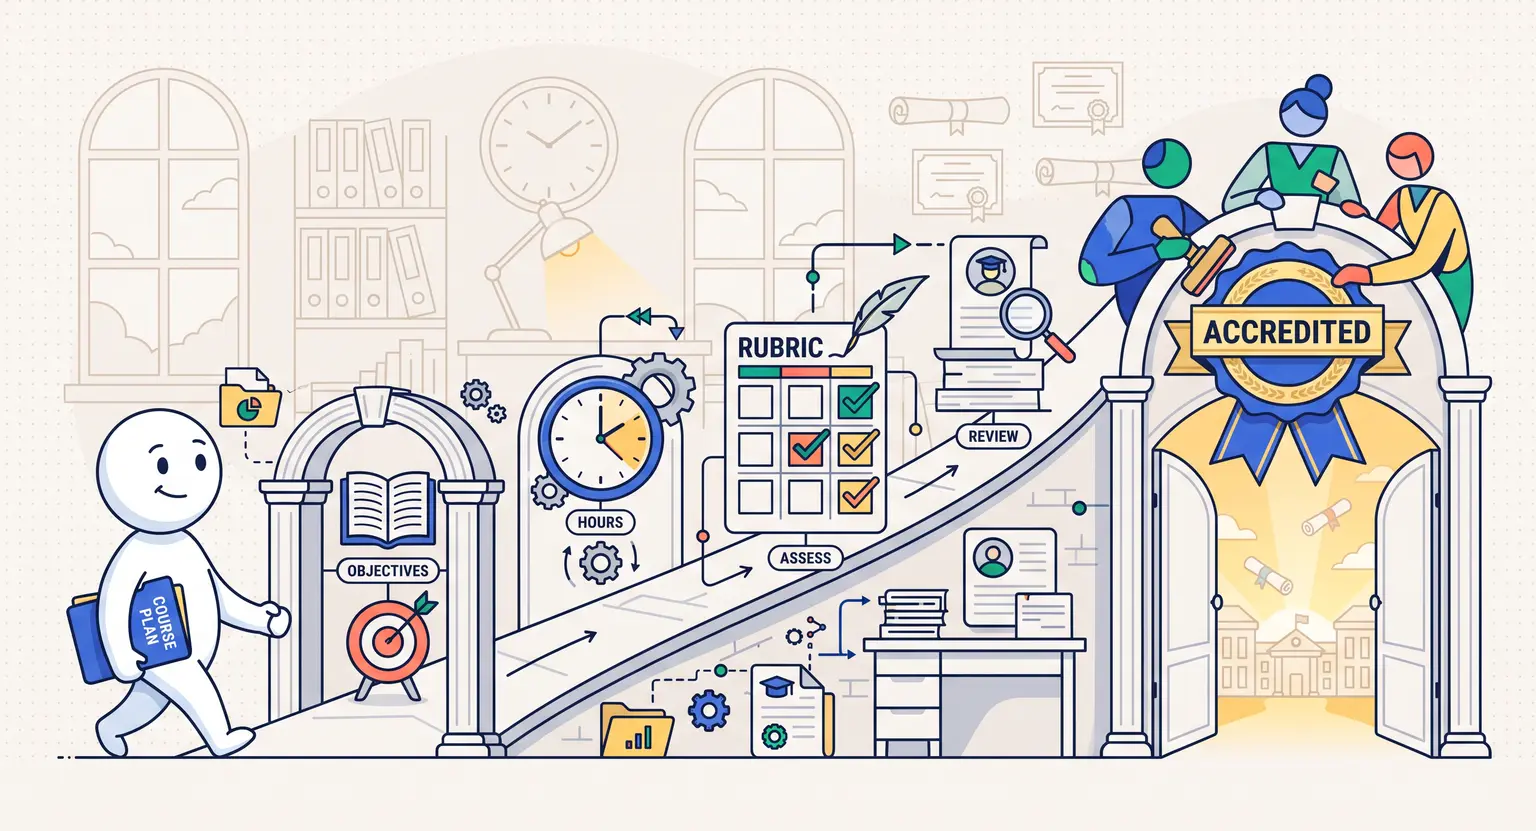 How to Get an Online Course Accredited (Step-by-Step 2026 Guide)
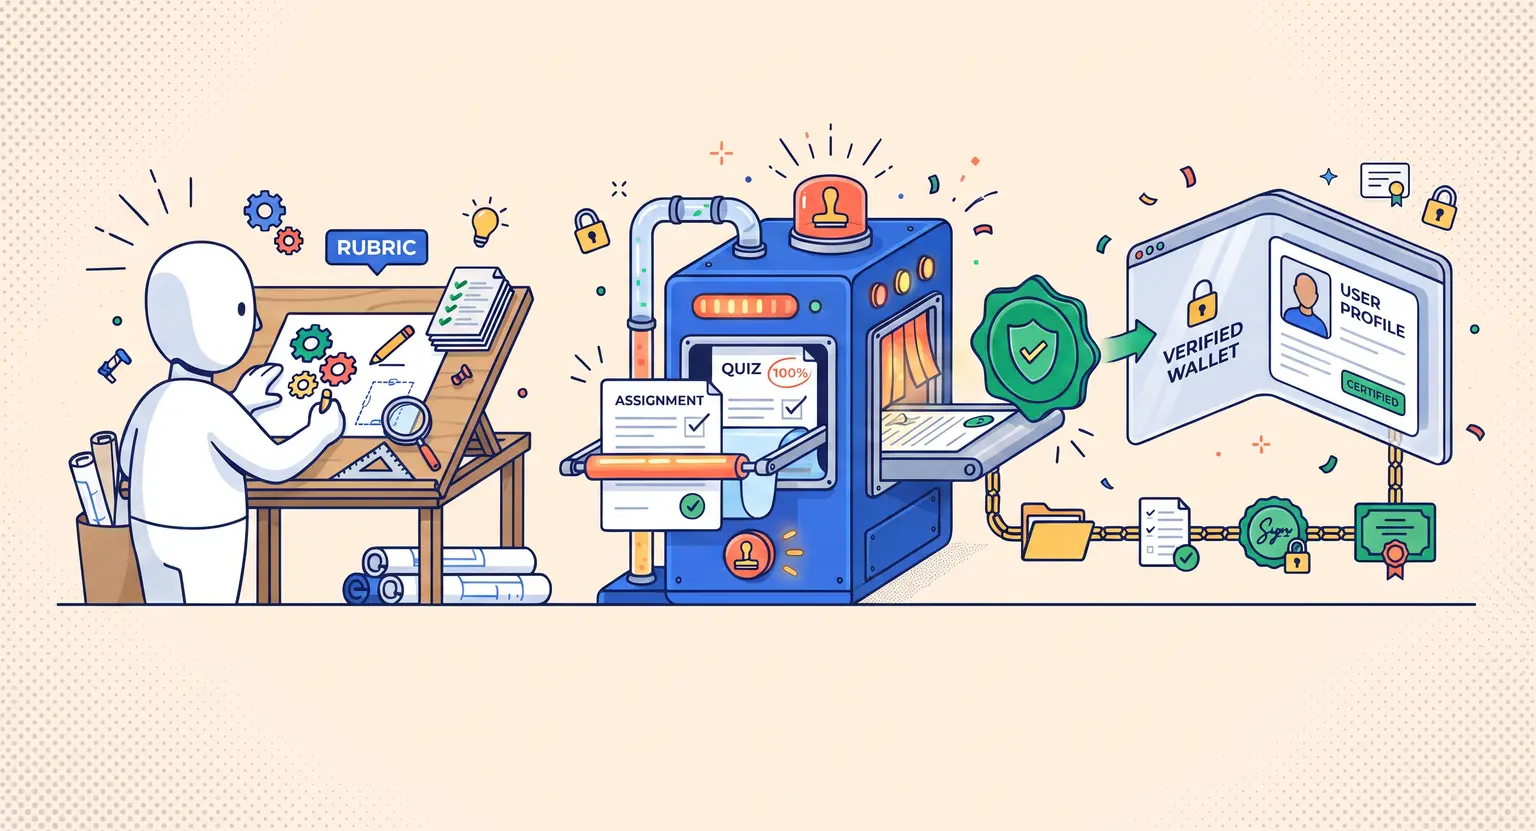 How to Create Verifiable Credentials for an Online Course (2026)